แสดงบทความที่มีป้ายกำกับ autumn แสดงบทความทั้งหมด

Pumpkin Crumb Pie


  photo SAM_1877_zps033986e6.jpg


The Toddster and I had a pretty in depth conversation the other night about pumpkin.  He thought pumpkin was a very bland recipe.   I had made a delicious pumpkin pie for dessert when we had the missionary elders over and we were talking about pumpkin.

 photo SAM_1878_zps2a95fd00.jpg


He hadn't realized that the pumpkins which are normally used for pumpkin pies are the smaller sugar pumpkin variety.  I know some people use the larger ones and that's ok . . . but if you want a really great pumpkin pie you want to use a sugar pumpkin.  They are lovely and sweet, and I don't think you could call them bland at all!

 photo SAM_1879_zps8364e817.jpg

I have always found the larger pumpkins to be lacking in flavour in comparison and their texture is not quite the same.  I do like them roasted though . . . as with any of the autumn vegetables, roasting brings out a lot of the natural sweetness.  I just roast them with a bit of olive oil, salt, pepper and garlic.

 photo SAM_1880_zps7165ff87.jpg

Anyhoo . . . this pie I am showing you here today went down a real treat with the missionaries (and with the Toddster),  It's a bit different than your usual pumpkin pie in that it has an oatmeal cookie crust and a buttery crumble topping.

 photo SAM_1881_zps29050f16.jpg

It's nicely spiced and that buttery cookie crust is to die for.   I guess it is somewhat like an  big fat round oatmeal cookie stuffed with spicy creamy pumpkin . . .  and what's not to like about that???

  photo SAM_1882_zpsfd47775d.jpg

It is absolutely stunning cut into wedges and served with a nice dollop of lightly sweetened whipped double cream on top . . . or served still slightly warm, topped with a scoop of vanilla ice cream . . . and yes, lashings of custard would go down a real treat as well.  I hope you will give it a try and when you do you will come back and tell me how much you enjoyed it!  Coz I just know you will.  It's a cert!

  photo SAM_1876_zps01360678.jpg


*Pumpkin Crumb Pie*
Serves 6
Something a little bit different.  It smells gorgeous when it is baking!  Tastes even better if possible.  We like this more than ordinary pumpkin pie.


175g of plain flour (1 1/4 cups)
100g of old fashioned oats (1 1/4 cups)
1/2 tsp salt
1/2 tsp bicarbonate of soda
95g of granulated sugar (1/2 cup)
100g soft light brown sugar (1/2 cup packed)
172g unsalted butter, melted (3/4 cup)
1 tsp pure vanilla extract


For the filling:
50g of granulated sugar (1/4 cup)
50g of soft light brown sugar (1/4 cup packed)
1 tsp ground cinnamon
1/2 tsp freshly grated nutmeg
1/4 tsp ground ginger
pinch ground cloves
1/4 tsp salt
1 large free range egg
1 large free range egg yolk
1/2 tsp pure vanilla extract
85ml evaporated milk or single cream (1/3 cup)
225g of pureed pumpkin (1 1/4 cups)  

 photo SAM_1884_zps7e7e19f6.jpg

Preheat the oven to 180*C/350*F/ gas mark 4.  Have ready a nine inch round deep pie tin.  (alternately you can use an 8 inch square pan)

Whisk the flour, oats, salt and bicarbonate of soda together in a bowl.   Tip in both sugars and rub together a bit with your fingers so that no lumps remain.   Whisk the melted butter and vanilla together and then stir this into the flour mixture, mixing well with a fork.   Measure half of it out and press into the pie tin, going partially up the sides.   Bake in the preheated oven for 15 minutes.

While the bottom crust is baking, whisk together all of the filling ingredients until smooth.  Remove the bottom crust from the oven and pour this mixture over top.  Return to the oven and bake for 15 minutes. 

 photo SAM_1887_zps668d7eb2.jpg

Remove from the oven and crumble the remaining crumb mixture evenly over top, breaking it into small bits.  Return to the oven and bake for 20 to 25 minutes longer, until the crust is golden on top and the centre jiggles slightly.  Allow to stand at room temperature for an hour, after which you can chill it in the refrigerator for one hour or longer.    Cut into wedges and serve with whipped cream and a light dusting of cinnamon.  Alternately you can serve it warm like a crumble, spooned out with some vanilla ice cream or lashings of custard.   Delicious!

 photo SAM_1883_zps393e59e6.jpg

Note:  If you bake in an 8 inch square pan you can cut into squares to serve and you will get approximately 4 decent sized servings, or 8 smaller ones..

Spiced Tomato Soup


  photo SAM_1604_zpsd3972034.jpg


I am such a lucky girl.  I often get sent the nicest things.  I have always wanted an Emma Bridgewater Mug.  My ex boss had several in her mug drawer in the kitchen and I always loved using them.  I have been known to go to the Emma Bridgewater Page and drool for hours at a time, wishin' and hopin' . . .   I know Susan Branch loves them too and she shared her visit to the plant with us in her latest book.  (Which I devoured from cover to cover!)

 photo SAM_1542_zps54c5ab33.jpg

Imagine my excitement when this box arrived in the post late last week.  I could hardly wait to open it!  What did I find inside????  Well . . .

 photo SAM_1543_zpscab3859a.jpg

None other than their brand new 2013 Halloween half pint mug!!  I know!!!  So excited!   A Halloween celebration of the ghoulish gourd and hand decorated with beautifully coloured hand-sponged pumpkins!!   It's generous size makes it just perfect for a warming brew or cup of soup on All Hallows’ Eve.    I love the colours!  It's so perfectly pretty, and decorated both inside and out with these beautifully painted gourds and blossoms!

 photo SAM_1545_zps6d212a88.jpg

British to the Core, Emma Bridgewater Pottery is all created from warm, cream-coloured earthenware  and hand decorated at their factory in Stoke-on-Trent.  In a day and age where a lot of the things we buy are created and manufactured in foreign countries it is nice to see a  British company selling British creation.  To me that only makes them even more special.  I love them.  Do take a gander over to their page and see what they create.  I guarantee you will fall in love like I did.   I now have my eye on a Peter Rabbit mug and have fallen completely head-over-heels in love with her robins.  Who knows, maybe the Toddster will indulge me this Christmas!      

 photo SAM_1602_zps10c7740e.jpg  

It was the perfect mug to enjoy this new soup which I created as a Halloween warmer this year.  I thought about doing pumpkin or sweet potato, but then settled on a warming spiced tomato soup.  I always have tons of tinned tomatoes in my larder and I wanted to use what I had to hand . . . and that way you would be sure to have those ingredients to hand as well . . . or at least I hope that you do!  

 photo SAM_1606_zps122f6d07.jpg  

Sweet onions, tinned tomatoes, red chillies for heat, some garlic and stock and a bit of herbs is all you need to make this delicious soup.  You can adjust the amount of chillies according to how much heat you do or do not enjoy!  Obviously the more you add the spicier it will be.  I am a chilli wimp myself . . . I don't like things too overly hot . . . 

 photo SAM_1607_zps9c36605e.jpg  

Mind you, the garnish of sour cream helps to cool it down a bit.  I got a bit fancy and piped it on with a baggie and dragged a toothpick through it so that it looked incredibly spider-webbed Halloween Ghoulishly frightful!  

☺     

 photo SAM_1609_zps47e5bbde.jpg 
  
It worked beautifully.  Mind you, then I got all common (as my ex boss would say) and crumbled my crackers into my soup but that is just me!  Not a pretentious bone in my body!  Enjoy!

  photo SAM_1601_zpsfa561b48.jpg  


*Spiced Tomato Soup*
Serves 4 to 6  

A deliciously easy soup which uses store cupboard ingredients for the most part.  Very quick to put together!  

a splash of olive oil
2 400g tins of good quality chopped tomatoes in tomato juice (2 14oz tins)
450ml of good quality chicken stock
2 TBS good quality balsamic vinegar
1 medium onion, peeled and chopped
1 small clove of garlic, peeled and minced
1 tsp brown sugar
1 tsp salt
1/2 tsp fennel seeds
1/4 tsp black pepper
1 small red chilli, trimmed, seeded and finely chopped
(wear gloves and don't touch your face!)  

To serve:
sour cream      

Heat a splash of olive oil in a deep saucepan.  Add the onion and red chilies,  and cook, stirring occasionally, until the onion has softened without browning.  Stir in the garlic and fennel seed.  Cook and stir for about a minute.  Add the vinegar.  Cook, until the vinegar has reduced and almost evaporated.   Tip in the tinned tomatoes, the chicken stock, seasoning and brown sugar.  Bring to the boil, then reduce to a low simmer and cook for 15 to 20 minutes.   Remove from the heat and blitz until smooth with an immersion blender.   Reheat gently.   Ladle into hot bowls, and garnish each serving with a dollop of sour cream. 

Many thanks to Emma Bridgewater for sending me this mug.   I just love it!

Pear and Apple Spice Cake

  photo SAM_1557_zps3af4203d.jpg  

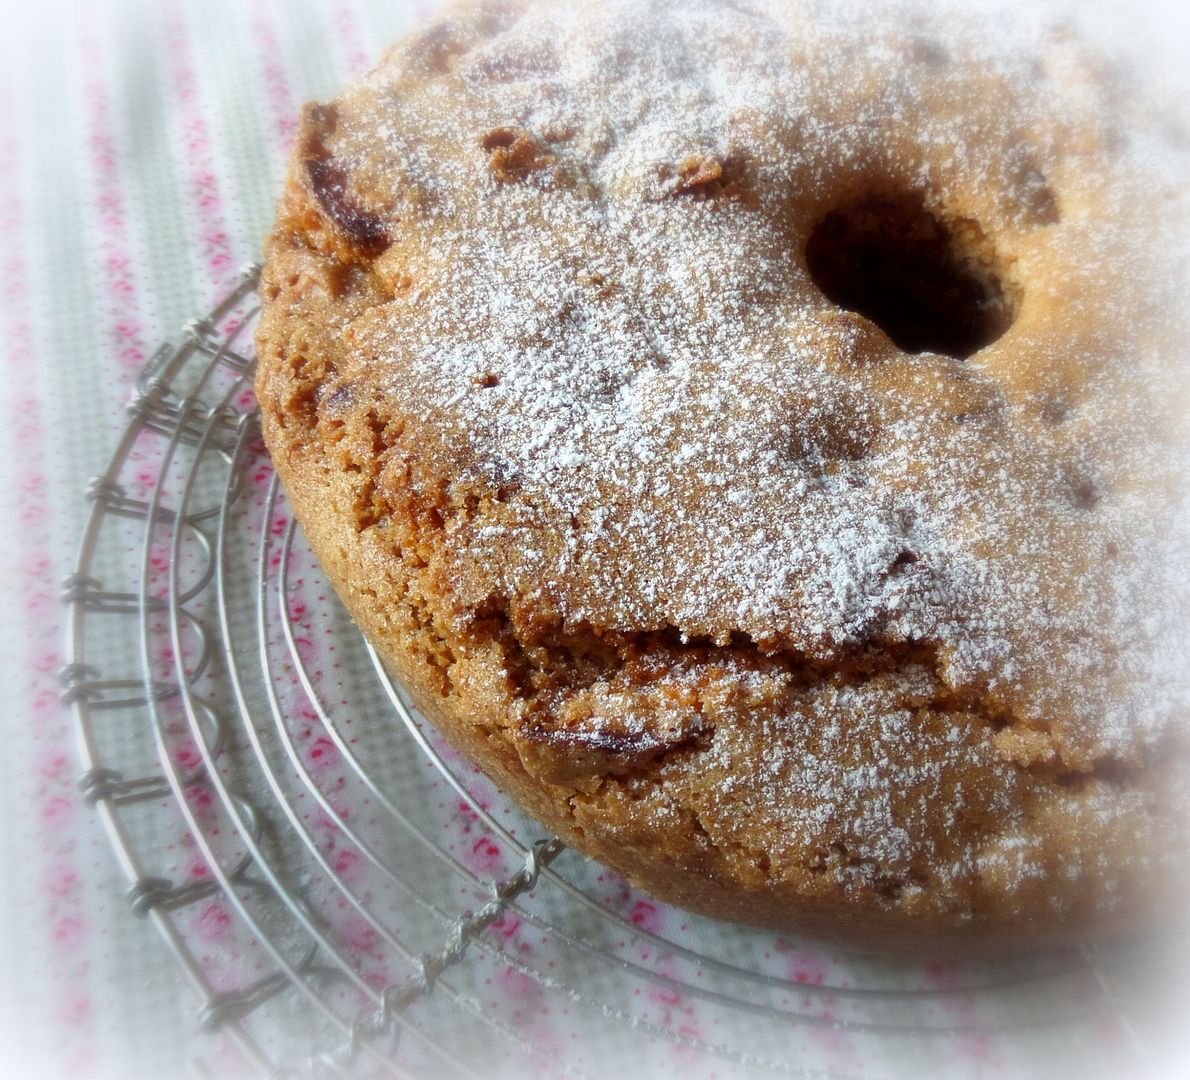
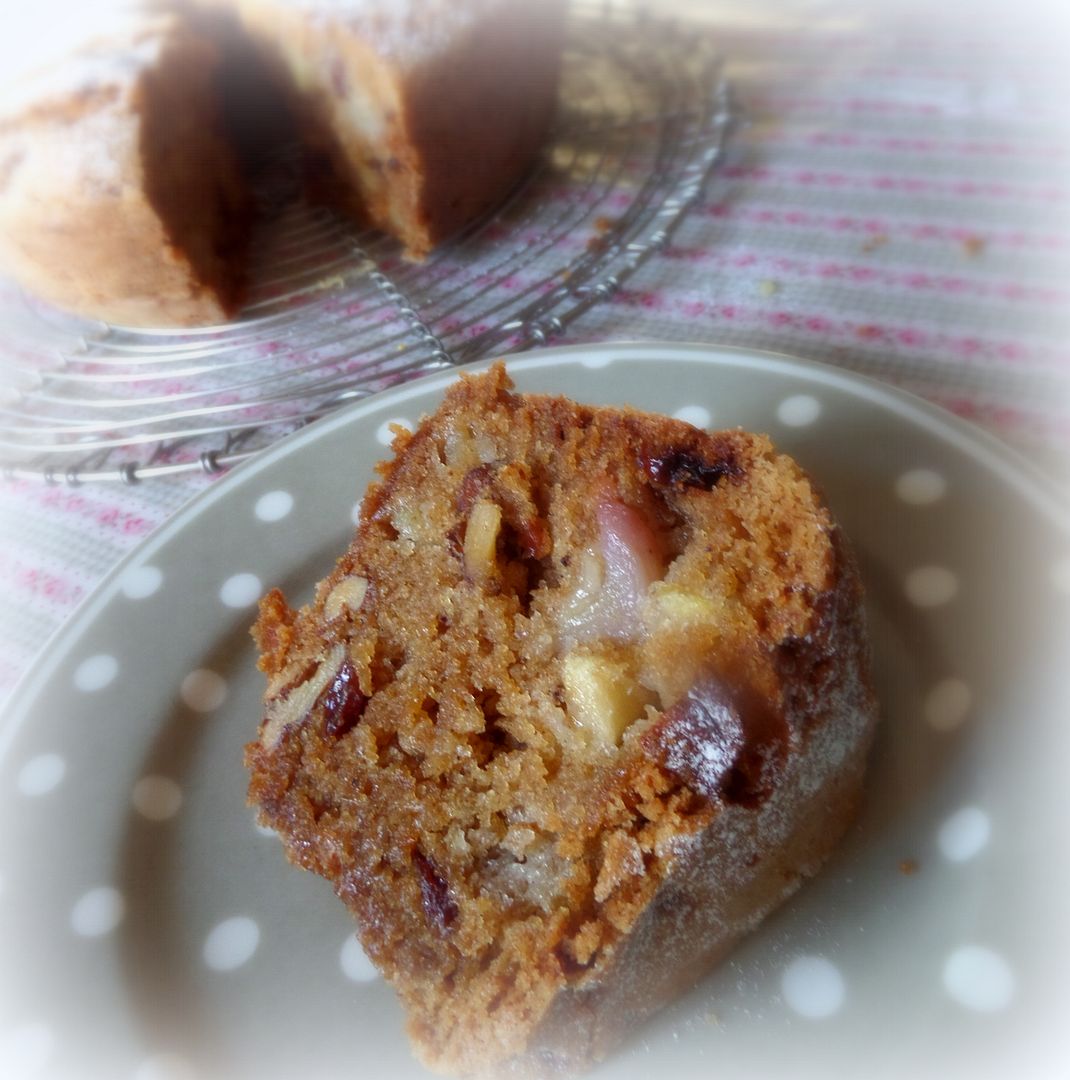
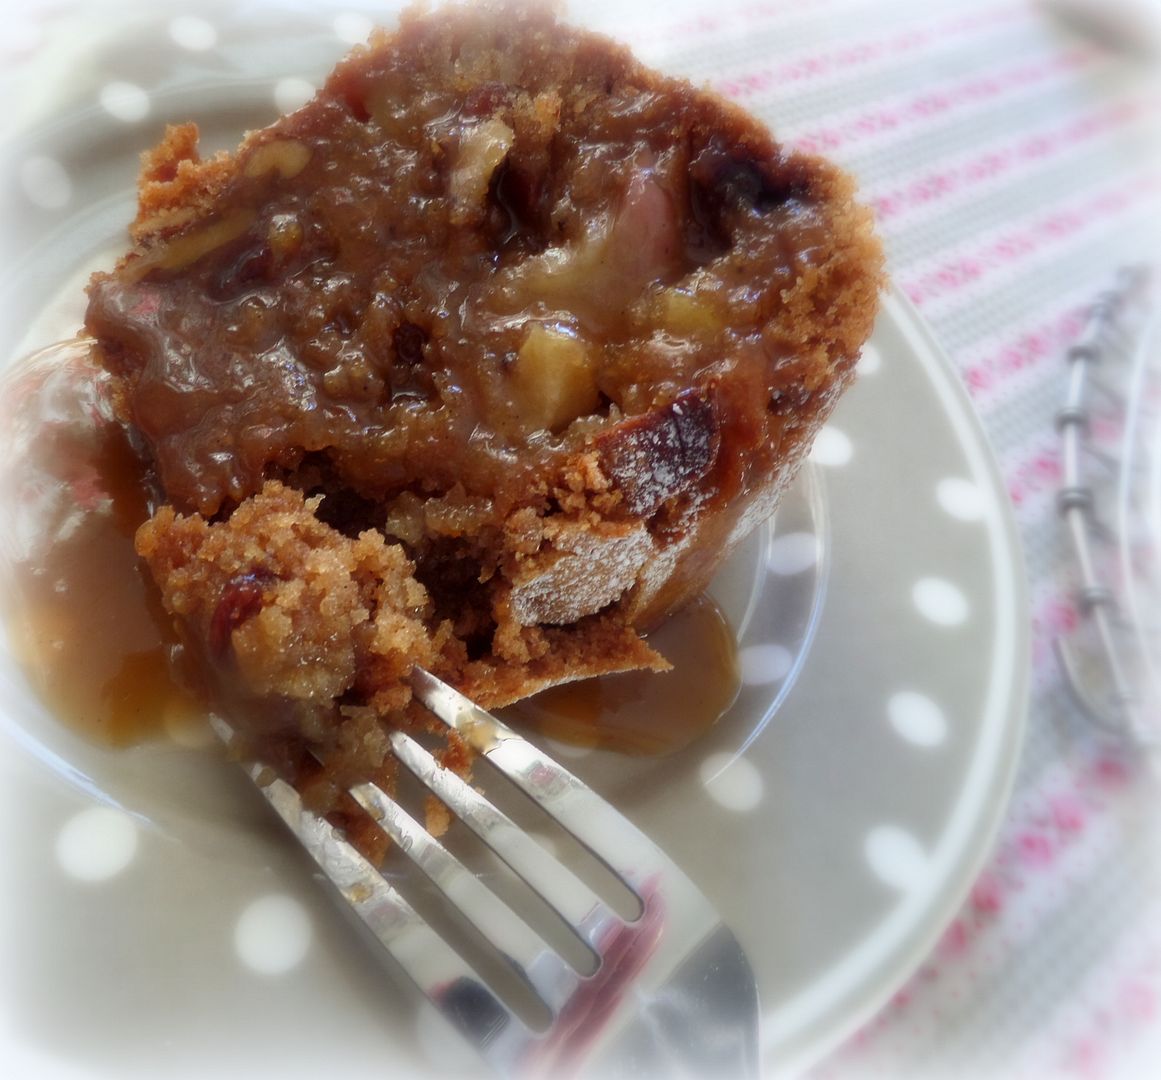
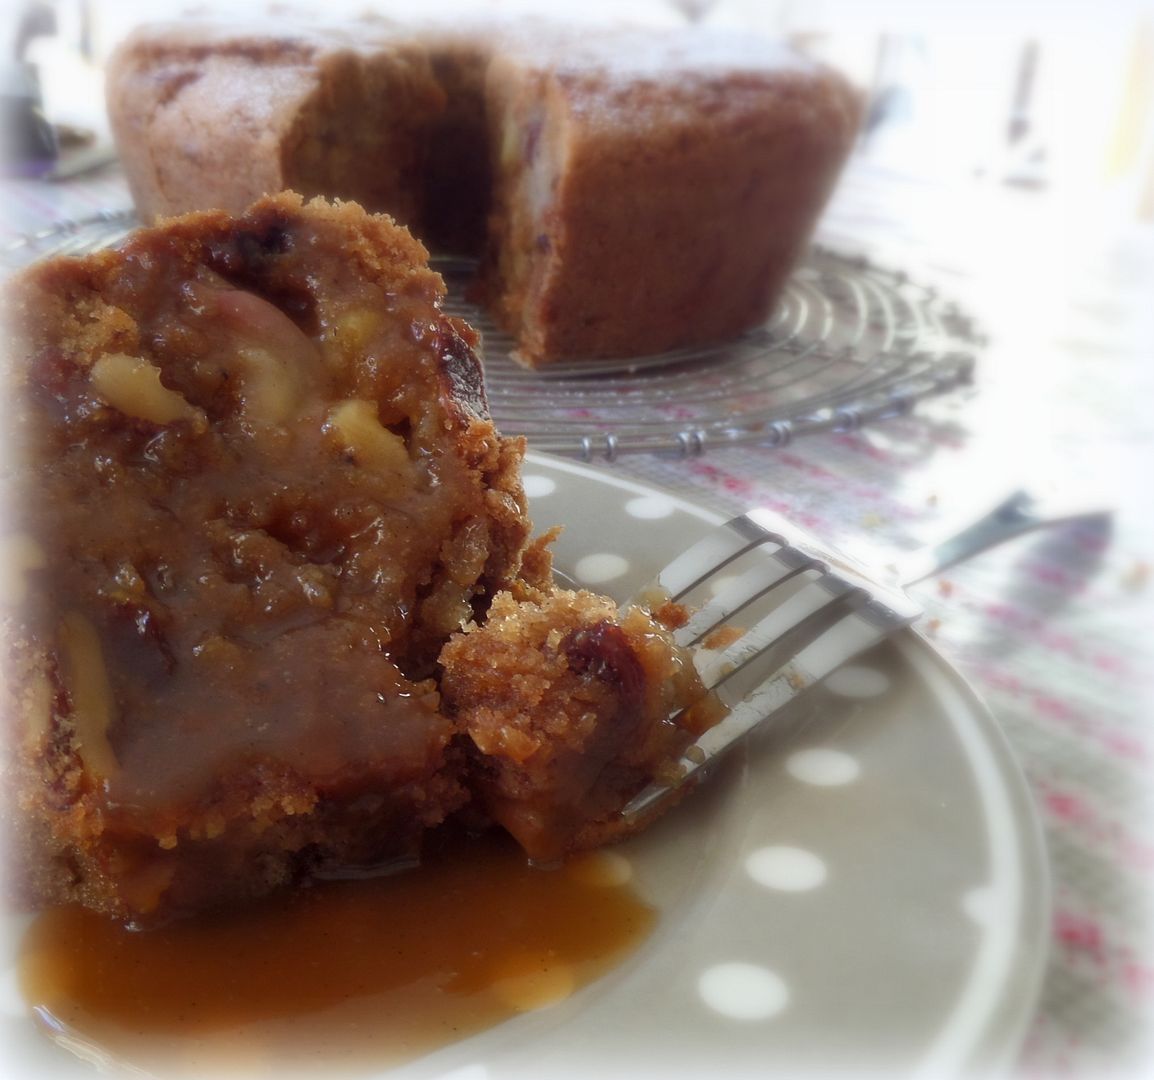
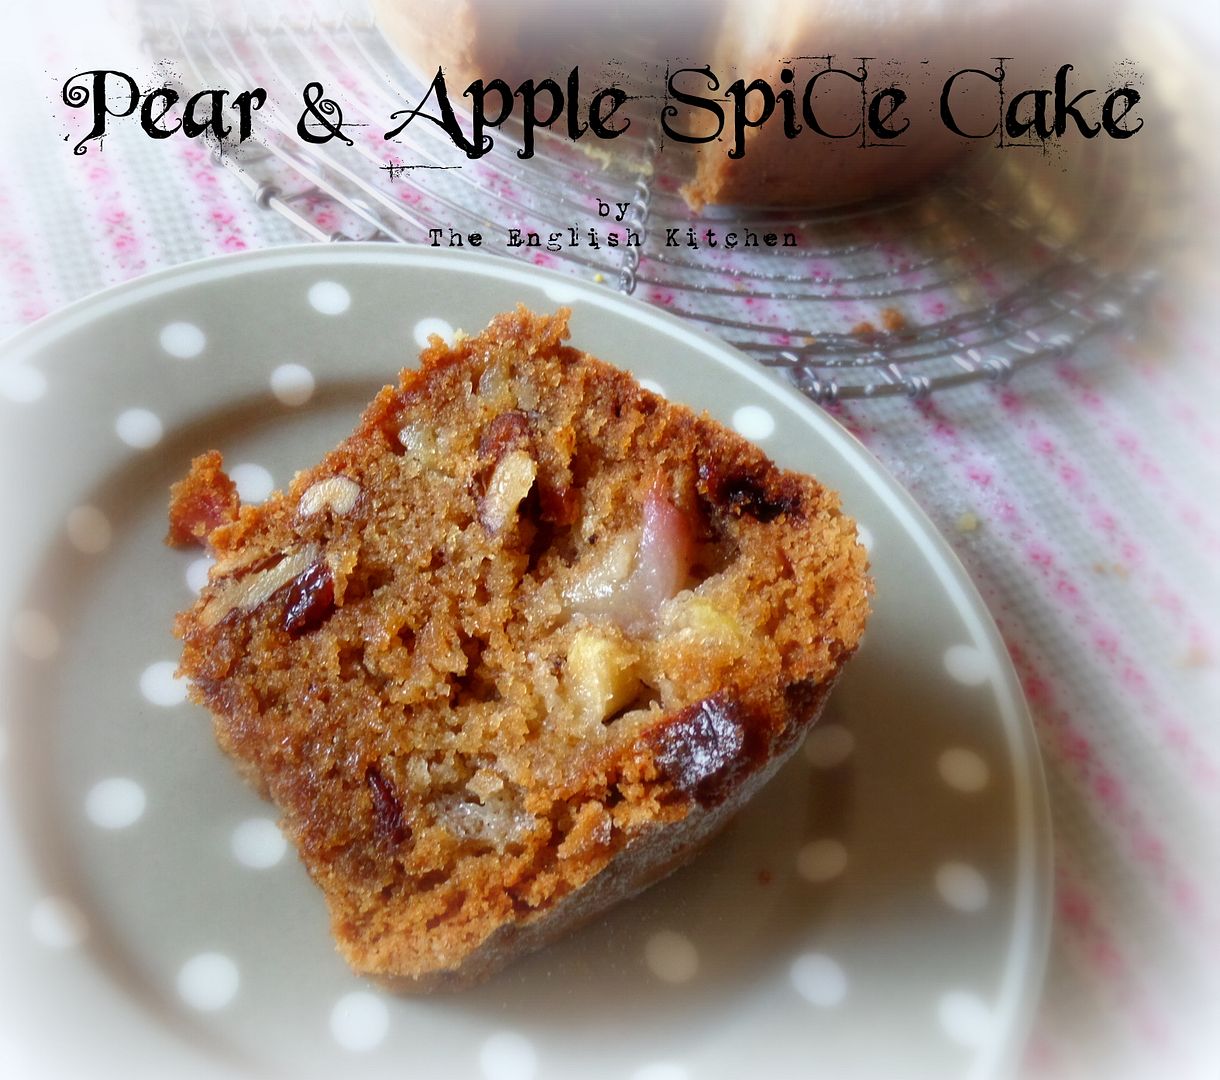
This is a lovely cake that I always used to make using just apples.   They almost melt into the cake, making it beautifully moist.   The other day I had some pears that I wanted to use as well, and so I used half pears and half apples with the most delightful results!!    

 photo SAM_1559_zps384c6465.jpg

I kicked up the spice a bit.  Normally I use only cinnamon, but pears go so very well with cardamom . . . and nutmeg is a warm spice that goes well with most fruits, and so I added some of each of those.

  photo SAM_1560_zpsc75043c9.jpg

WHAT A BEAUTIFUL CAKE.  No, not to look at, it's actually kind of ugly to look at, but flavour-wise, this cake cannot be beat.  It's just gorgeous!    

 photo SAM_1561_zpsb3988744.jpg

I added some toasted walnut pieces for a bit of crunch.  I do like a cake that is interesting and has different bits in it, don't you???  But fear not, if nuts are not your thing, you can easily leave them out, no problem.  Likewise the sultanas.    

 photo SAM_1564_zps9f52e96f.jpg

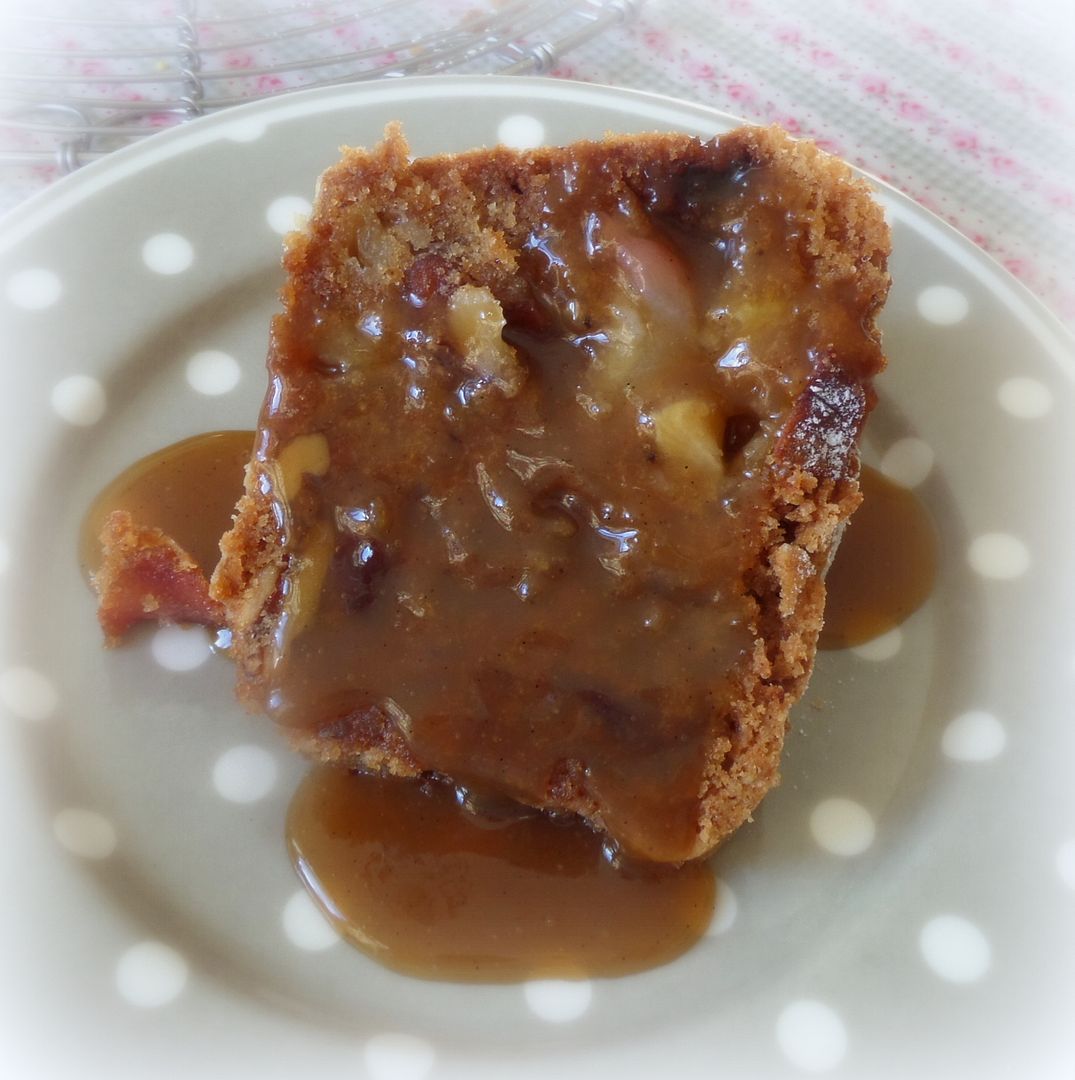
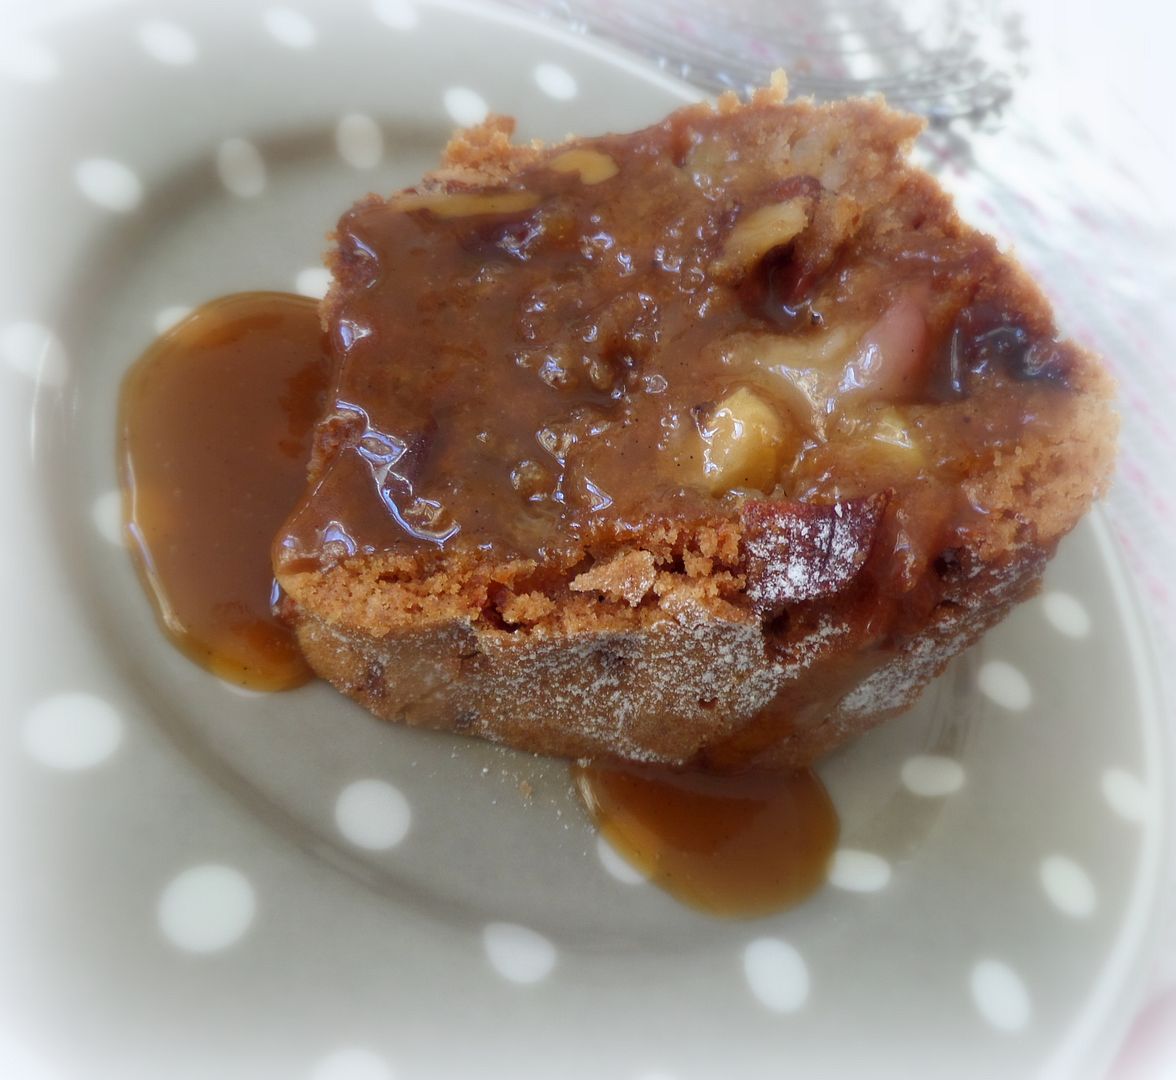
I had some caramel sauce left from the  other day when I made those pumpkin fritters.  A bit of that warmed up and spooned over top went down a real treat.  It was absolutely perfect with this cake.  It almost tasted like a candy apple cake then . . .   

 photo SAM_1566_zps0db400bf.jpg

Of course, vanilla ice cream would go very well also . . . or custard, for what is icecream but frozen custard anyways.  Oh heck, why not go whole hog and have clotted cream.  Now that would be fantabulous!

 photo SAM_1558_zps07c9b988.jpg
*Pear and Apple Spice Cake*
Makes one large tube cake  

Moist and spicy and stogged full of fruit, raisins and nuts.  Delicious served warm with some caramel sauce.  Feel free to leave out the raisins and nuts if you don't like them.

420g of plain flour, plus more for dusting the pan (3 cups)
354ml of vegetable oil (1 1/2 cups)
380g of granulated sugar (2 cups)
3 large free range eggs
1 tsp salt
1 tsp ground cinnamon
1/2 tsp ground cardamom
1/4 tsp freshly grated nutmeg
1 tsp bicarbonate of soda
1 tsp vanilla paste
3 cups of peeled and thinly sliced pears and apples (I used cox's apples and conference pears
from our own trees) (355g)
115g of chopped toasted walnuts (1 cup)
150g of sultana raisins (1 cup)

Preheat the oven to 180*C/350*F/ gas mark 4.  Grease a 9 inch tube pan with some shortening and dust lightly with flour, shaking out any excess.  Set aside.

Sift together the flour, spices, salt and soda.  Set aside.  Put the oil and sugar into a large mixing bowl.   Beat together with an electric mixer, or a stand mixer (using the paddle blade) for five minutes, until thick.  Beat in the eggs, one at a time and continue to beat until creamy.   Stir the dry ingredients into the batter.  Fold in the fruit and nuts.   Spread this batter into the prepared pan, smoothing the top over.   Bake for 1 hour and fifteen minutes, or until a toothpick inserted in the centre comes out clean.

Allow to cool completely in the pan before turning out.   Serve at room temperature with or without ice cream and some caramel sauce, if desired.

 photo SAM_1423_zpsd0c0658f.jpg

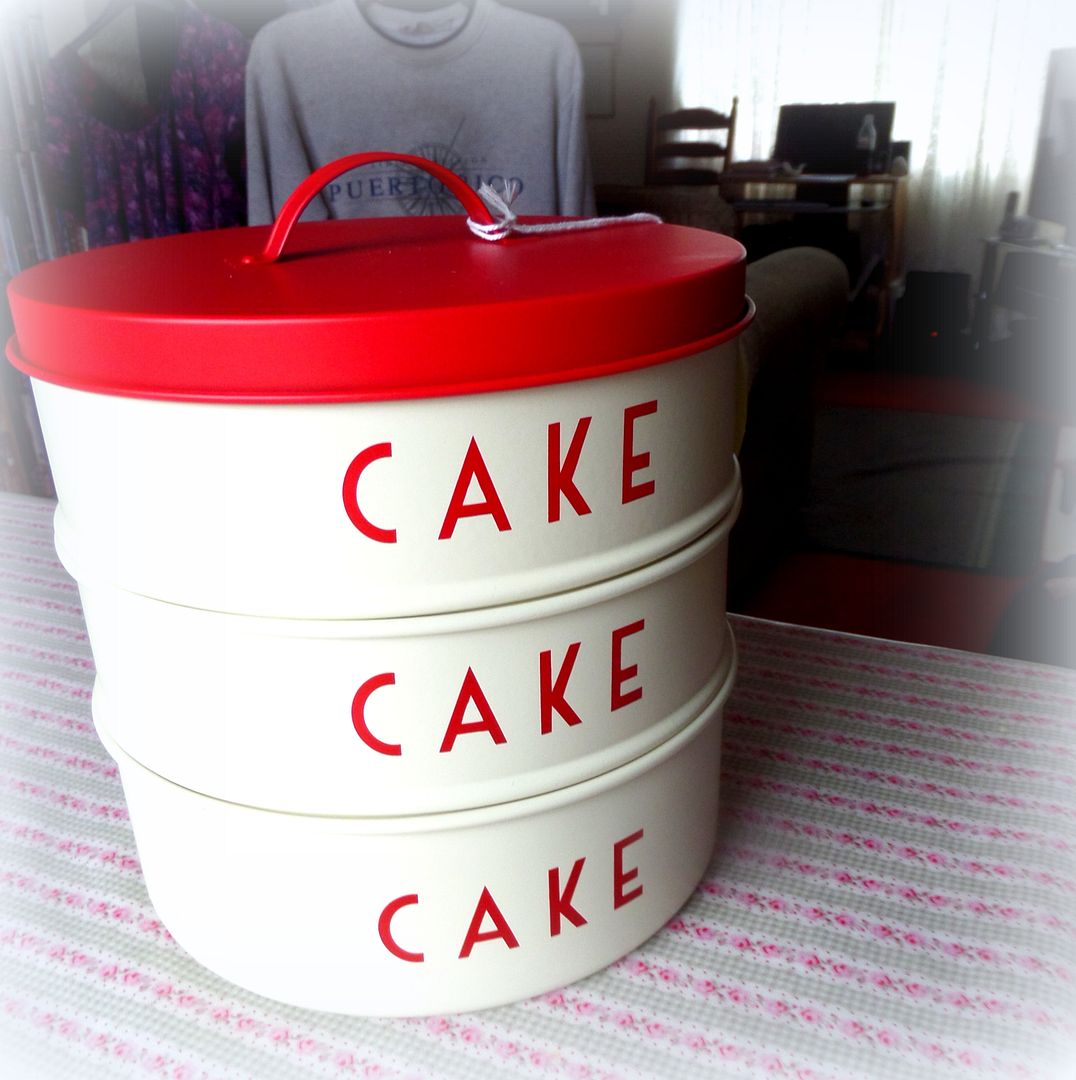
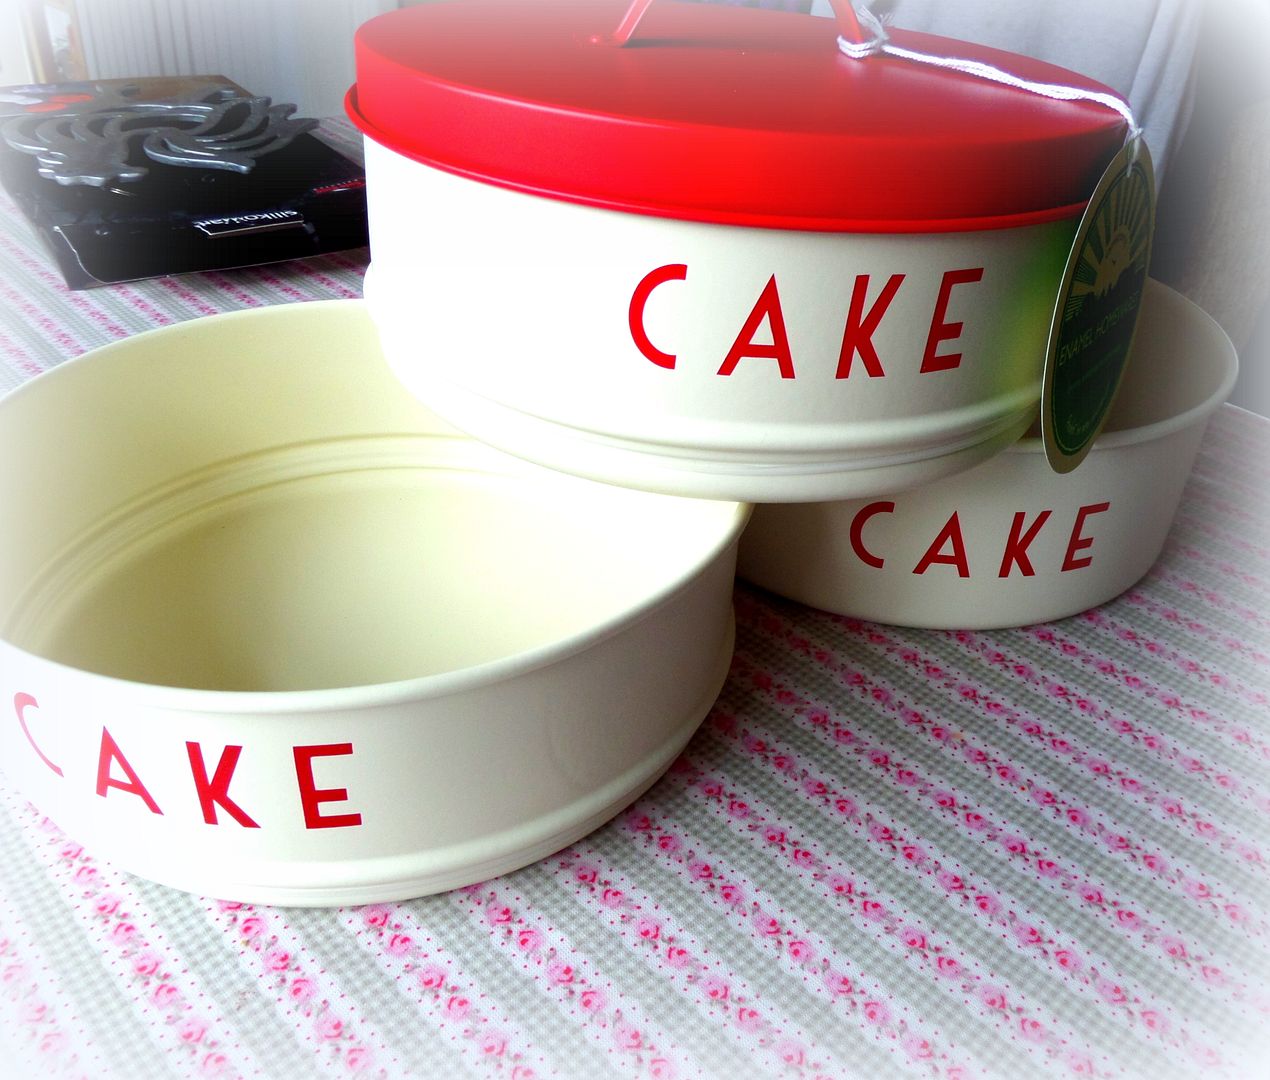
Speaking of cakes, it's always nice to have a nice tin to store all of your baked goodies in.  I was recently sent this lovely cake tin from  Rex London.  I fell right in love with it.  This Three Tier Red and Cream Cake Tin has a lovely vintage look which I just adore.

  photo SAM_1424_zps8988aa9e.jpg

Made from sturdy enamel coated tin, all three compartments are ample in size and close air tight to help keep things fresh.  It would make a wonderful Christmas gift for that baker in your life who also adores anything vintage looking.  It sells for £34.95.  Its a beautiful way to keep three separate baked goodies stored properly without taking up a lot of counter space!  It gets a 10 out of 10 from me!  I love the colours and the vintage look of it.

 photo 24756-hi_zpsce1acef0.jpg

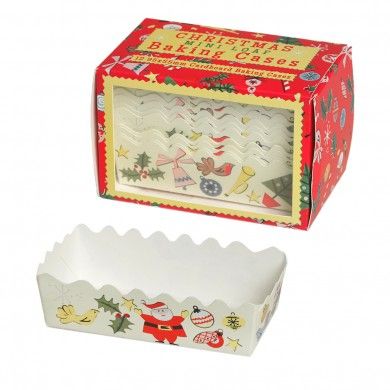
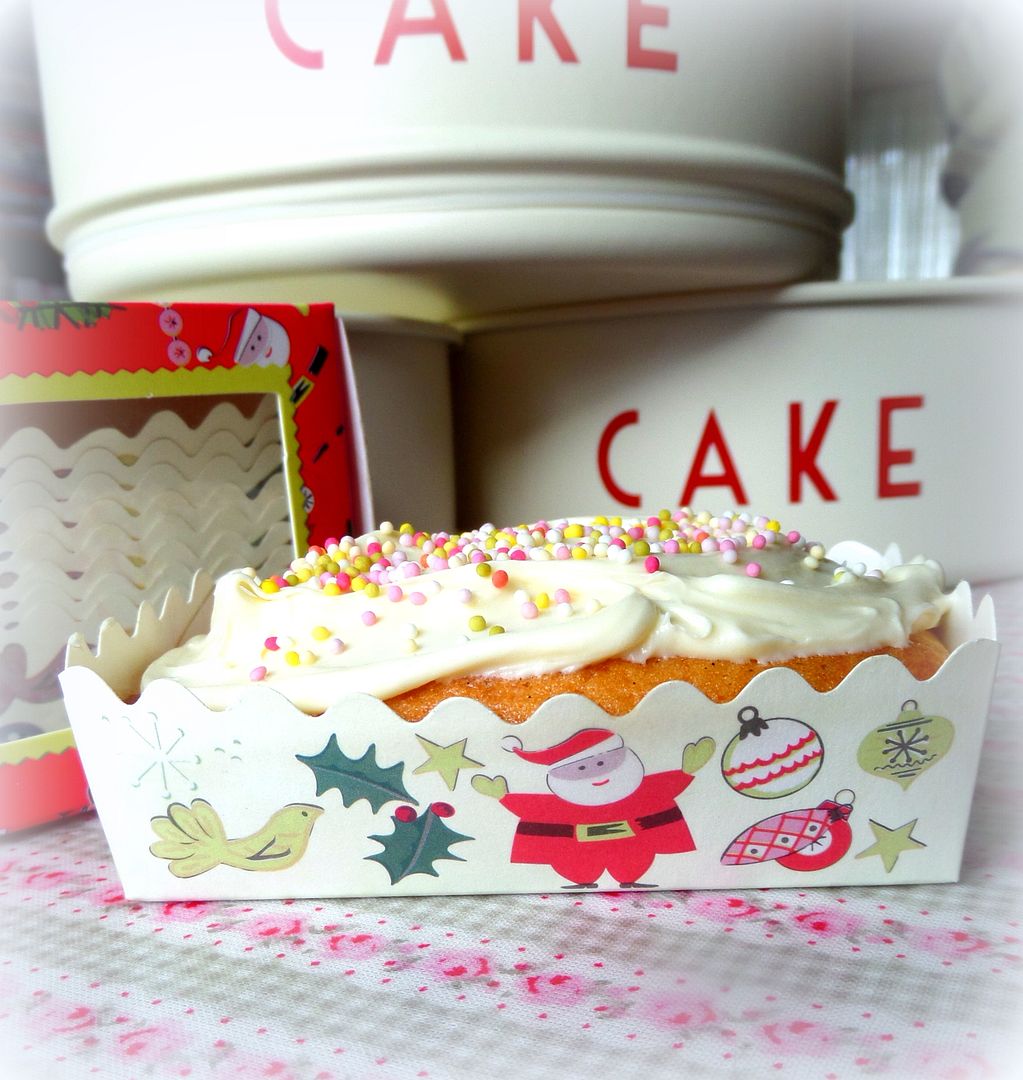
I was also sent this adorable set of 12 Christmas Carnival Mini Loaf  Baking Cases, also from  Rex London. Made from sturdy card and beautifully decorated in a vintage Christmas images they are the perfect size for individual loaves, perfectly sized for gift giving.   I would buy three sets and then bake three different loafs in each set and then present  12 lucky elderly neighbors and friends or singletons with a gift of one of each, wrapped and tied up in a pretty bow for the holidays.   I can't think of one person that would turn that down.

 photo SAM_1429_zpsd7928b3d.jpg

They held up very well in baking without discolouring or going all floppy.  How cute is that?   These are also very reasonably priced at only £1.95 for the set of 12, which I think is great!  They also have alot of other types of baking cases for the holidays as well as a whole array of different items in the Christmas Carnival Design!

Many thanks to  Rex London for sending me these!!  I highly recommend both!

Note:  Although I was sent these to try, any and all opinions are my own.

Cookies and Cakes and Pies . . . oh my!

   photo img_girl-talking-on-phone_superstoc.jpg 

I had baked a delicious spiced apple and pear cake today to share with you, but the day got away from me and before I knew it, it was too dark to take photographs.   I like taking my food photographs in natural light if I can, which means I will have to wait until tomorrow.  In the meantime I am moving a few scrummy bits over from my other blog.  I think it would be nice to have all my recipes in one place.  The photography on these is not that great as it was eons ago and I was not that practiced at using my camera or taking photos!  They're all good solid recipes however.  There isn't a clanger in the bunch!  Tasty tasty!  I'll be back tomorrow with the apple cake!


*Cinnamon Oatmeal Cookies*
Makes about 36
Printable Recipe

Oh my but these are delicious fresh out of the oven with a tall glass of cold milk.  Each bite brings you the sweet crunch on the outside with the chewiness of the inside, and full oaty flavour.  I think these are fast becoming my favourite.

1/2 cup butter, softened
1 1/4 cup sugar
1 large egg
1 TBS molasses
1 tsp vanilla
1 1/2 cups flour
1 1/4 cup old fashioned rolled oats, (Do NOT use instant)
1 tsp baking powder
1/2 tsp baking soda
1/2 tsp salt
1 tsp ground cinnamon
3/4 cup demerara sugar (to roll the cookies in)

Pre-heat the oven to 180*C/350*F.  Line two baking sheets with baking parchment.  Set aside.

Cream the softened butter together with the sugar, until light and cream.  Beat in the egg, molasses and vanilla.  Whisk together the flour, baking powder, baking soda, salt and cinnamon.  Stir this into the creamed mixture, blending in well.  Stir in the oats.  Put the demerara sugar into a bowl.

Roll bits of the dough into walnut sized pieces and then roll each ball in the demerara sugar to coat.  Place on the baking sheets, leaving about 2 inches between.   Bake, one tray at a time, placing them on the centre rack of the oven, for 10 to 12 minutes, or until lightly browned.  Remove to a wire rack to cool.  Repeat until all the dough has been used up.  Store in an airtight container.


*Chocolate Chip Cake*
Makes one 8 inch square cake
Printable Recipe

This is a tasty amd moist white cake, just stogged full of delicious milk chocolate chips.  If you are feeling really indulgent you can replace the chocolate chips with the same amount of good quality milk chocolate cut into bits. My favourite it Green and blacks.  The icing does call for raw egg yolk, so if you are making this cake for the elderly or the very young, I would replace it with a plain vanilla buttercream icing.

for the Cake:
1/2 cup butter, softened
3/4 cup sugar
2 cups flour
3 tsp baking powder
1 tsp vanilla
3 egg whites, beaten stiff along with 1/4 cup sugar
3/4 cup milk
3 ounces milk chocolate chips (Or an equivalent amount of good quality milk chocolate,
such as Green and Black's, chopped into small bits) (Remove 1 TBS of the flour before mixing it with the
baking powder and stir this into the chocolate chips so that they don't sink when baking)
for the Icing:
1/2 cup butter, softened
1 1/2 cup icing sugar
3 egg yolks
1 tsp vanilla

Pre-heat the oven to 180*C/350*F.  Grease an 8 inch square pan and then line it with parchment paper.  Grease again and then set it aside.

Cream the butter and sugar together until light and fluffy.  Whisk together the dry ingredients.  Add them to the creamed mixture, alternately, beginning and ending with the dry.  Carefully fold in the beaten egg whites.  Fold in the chocolate chips, along with any flour residue.  Spread the batter into the prepared pan and then bake for 30 to 35 minutes, or until the centre springs back when lightly touched and a toothpick inserted in the centre comes out clean.  Be careful not to overbake it.  Let sit in the pan for about 10 minutes before removing it completely to a wire rack to cool  before icing.

To make the icing, cream the butter until light.  Beat in the remaining ingredients, beating until light and fluffy.  Spread on top of the cooled cake.


*Gingerbread Pudding Cake*
Serves 12, but can be successfully halved
Printable Recipe

I just love pudding cakes, and this one is a spicy delight!  Serve warm with ice cream for a realy tasty treat!

2 1/2 cups flour
1 1/2 tsp baking soda
2 1/4 tsp ground ginger
1 tsp ground cinnamon
1/2 tsp salt
1/2 tsp ground allspice
1/4 tsp freshly ground nutmeg
1/4 tsp ground cardamom
1/2 cup butter, softened
1/2 cup sugar
1 large egg, beaten
1 cup molasses
(mild and in the uk you can use 1/4 cup dark treacle mixed with 1/4 cup golden syrup)
1 cup water
3/4 cup firmly packed brown sugar
1 1/2 cups hot water
1/3 cup butter, melted

Pre-heat the oven to 180*C/350*F.  Whisk the flour, baking soda, ginger, cinnamon, salt, allspice, nutmeg and cardamom together in a bowl.  Set aside.

Cream the butter and sugar together until creamy.  Beat in the egg.  Mix the molasses and water together and then beaet that into the creamed butter, alternately with the flour mixture, beating only until blended.  Do not over beat.  Pour batter into an ungreased 13 by 9 inch baking pan. Sprinkle the brown sugar evenly over top.  Stir together the hot water and melted butter and carefully pour this over top of the batter.  Do not stur.  Bake for 40 to 55 minutes, or until the gingerbread looks all cracked on top and a toothpick inserted into the centre comes out clean.

Serve warm with some ice cream.  Delicious!!


*One Bowl Chocolate Cake*
Makes 2 9-inch layers
Printable Recipe

This is a rich and moist chocolate cake which goes together in a jiffy, all in one bowl.  Frost as desired with your favourite frosting.

2 cups sugar
1 3/4 cups all purpose flour
3/4 cup unsweetened cocoa powder
1 1/2 tsp baking powder
1 1/2 tsp baking soda
1 tsp salt
2 2ggs
1 cup whole milk
1/2 cup sunflower oil
2 tsp vanilla extract
1 cup boiling water

Pre-heat the oven to 180*C/350*F.  Grease and flour two nine-inch round cake tins.  Set aside.

Place all the cake ingredients,except for the boiling water into a large bowl.  Beat for 2 minutes on the medium speed of an electric mixer.  Stir in the boiling water and divide the batter amongst the prepared cake tins.  The batter will be thin.  Don't worry, this is normal.

Bake for 30 to 35 minutes.   The cake is done when a toothpick inserted in the centre comes out clean.  Cool in the pans for 10 minutes before removing to wire racks to finish cooling.

Frost and decorate as desired.


 *Strawberry Toffee Tart*
Serves 6
Printable Recipe

A crispy, buttery and oaty crust covered with a tangy cream and a plethora of sliced strawberries, this is truly moreish. A final drizzle of toffee sauce is it's crowning glory. Easy, quick and pleasing on all levels this is a true winner!

170g of hobnob biscuits (a buttery oatmeal cookie)
(Scant two cups of crumbs)
85g (1/3 cup) butter
400g of ripe strawberries (scant 3 cups)
385ml of double cream ( 1 2/3 cup)
5 soft toffees (such as Werther's original soft toffees)
200g tub of Greek Yoghurt (1 2/3 cup)
icing sugar for dusting


Line an 8 inch tart tin with baking parchment. Crush the biscuits to fine crumbs either in your food processor, blender or by bashing them in a plastic bag with a rolling pin. Tip them into a bowl and mix together with the melted butter. Press this mixture evenly in the base of the tart tin. Place in the refrigerator for 30 minutes or so until it feels firm. Once firm, remove the biscuit base from the tin and carefully slide it onto a flat serving plate.

Slice the strawberries and set aside.

Take 2 TBS of the cream and put it into a small bowl. Whip the rest of the cream until it holds soft peaks. Fold in the yoghurt and then spoon this mixture over the top of the biscuit base and cover with the sliced strawberries.

Add the toffees to the cream and place in the microwave. Cook on medium heat for 30 seconds to 1 minute. Stir until they form a sauce. Drizzle this sauce over the berries. Dust with icing sugar just before serving.


*Sticky Topped Gingerbread*
Makes one 8 inch square cake
Printable Recipe

I am a gingerbread connoisseur. I have tried many recipes through the years and this is the ultimate version that I have come up with. Dark, spicy and moist with a lovely and stickily decadent topping, this version wins on all counts!

1 1/2 cups flour
1 tsp baking soda
1/2 tsp salt
1 tsp ground cinnamon
1/4 tsp ground cloves
2 1/2 tsp ground ginger
2 tsp unsweetened Dutch process cocoa powder
2 large eggs, at room temperature
1/2 cup firmly packed soft dark brown sugar
1/2 cup sour milk
(or buttermilk)
1/2 cup dark molasses
1/2 cup slightly salted butter, melted and cooled
For the Topping:
3 TBS butter
1/3 cup firmly packed dark brown sugar
2 TBS double cream (heavy or whipping)

Pre-heat the oven to 180*C/350*F. Lightly grease and flour an 8 inch square baking dish, tipping out any excess flour. Set aside.

Whisk the flour, soda, salt, cinnamon, cloves, cocoa and ground ginger together in a medium sized bowl. Set aside.

Beat the eggs in a large bowl until foamy. Beat in the brown sugar, beating it until the mixture is smooth and lump free. Beat in the sour milk (or buttermilk), molasses and melted butter. Beat until well blended, scraping down the sides of the bowl as necessary. Fold in the flour mixture, mixing it in only until just blended in and no dry mixture remains. Scrape the batter into the prepared pan. Give the pan a gentle smack down on the counter a couple of times to release any air bubbles and then bang it into the oven and bake for 30 to 40 minutes, until the top springs back when lightly touched and the edges have pulled away a bit from the sides. Transfer to a rack to cook for several minutes while you make the topping.

Pre-heat the grill or broiler of your oven.

Place all the topping ingredients in a small saucepan. Heart over medium heat, stirring constantly until the mixture bubbles and thickens. Remove from the heat.

Take a fork and poke a few holes here and there across the top of your gingerbread. Pour the hot topping mixture evenly over top of the warm gingerbread, allowing it to seep down the sides. Place under the grill and broil until the topping is bubbling, about 40 seconds or so. (watch carefully so it doesn't burn!) Remove from the broiler.

Serve warm with sweetened whipped cream if desired.


*Baked Apples with Mincemeat and Cream*
Serves 4
Printable Recipe

I love baked apples. They are so easy to do and always taste so good when they are done. For a little something extra special try baking them stuffed with mincemeat. These are truly delicious!


1 medium bottle of sparkling apple cider or apple juice (about 3 1/2 cups)
2 dessert spoons of cranberry jelly
2 TBS unsalted butter
4 large baking apples (I used Blenheim Orange Suffolk)
4 dessert spoons of mincemeat
a small handful of chopped and toasted walnuts
a small handful of dried tart cherries
1 TBS chopped crystalized ginger
250 ml container of double cream for serving (about 1 1/4 cup)

Pre-heat the oven to 200*C/400*F/gas mark 6. Lightly butter a baking dish and set aside.

Put the apple cider, cranberry jelly and butter into a large skillet and bring to a boil. Boil until it is reduced to about 1 1/4 cups. This should take about 12 to 15 minutes.

In the meantime, cut a cone shaped piece from the stem end of each apple, about 2 inches wide at the tip and 1 inch deep. Using a melon baller, remove the core, leaving the apple intact at the bottom. Take a sharp knife and cut a slight slit around the middle of each apple, about halfway up. Try not to cut in too deeply. This will help to prevent the apple from exploding in the oven and help it to keep it's shape.

Mix the mincemeat, walnuts, cherries and ginger together in a bowl. Spoon this mixture into the apples, filling and mounding it up in the centre.

Arrange the apples in the baking dish and then spoon the cider over and around them. Bake for about 45 minutes, until the apples are tender. Serve warm in shallow bowls with a spoonful of cream or two drizzled over each.

Roasted Root Vegetable Pizza


 photo SAM_1290_zpsa3b1ed74.jpg

Since I was ill in September I haven't been able to look at a pizza.  Pizza was always one of my favourite things . . . it makes me sad that it isn't any longer.   I can't get enthused for Chicken Parm either.  I had made Chicken Parm Enchiladas that day and well, you know.   I haven't even been able to look at the photographs since!   It may be a while before you get to see those!

 photo SAM_1291_zpsd01f75e1.jpg

I don't know if it is the combination of the sauce and the cheese and meat or what, but it's been a no go for about a month now . . . until today.  Today I decided to create a delicious roasted root vegetable pizza, with a whole wheat crust!

 photo SAM_1293_zpsc37c6279.jpg

All I can say is wowsa!  You get a nice thick crust, not unlike a foccacia . . . and then all of those sweetly caramlized root vegetables nestled amongst not one, not two, but THREE cheeses!

  photo SAM_1294_zps27e6d5eb.jpg

Just look at all of that delicious scrumminess . . . butternut squash, parsnips, carrots, red onions . . . roasted until sticky sweet with some salt, pepper and olive oil . . . nestled on top of that crisp and nutty flavoured crust . . . beneath a blanket of cheese.

 photo SAM_1298_zps20913602.jpg

A sprinkle of fresh thyme leaves lends an herby touch, which altogether made for a very tasty pizza if I don't say so myself!  I do hope you will give it a try!  I don't think anyone will be disappointed!  Even the Toddster loved this and he's not a pizza fan at all!

 photo SAM_1289_zpsd1028f4d.jpg


*Roasted Root Veggie Pizza*
Serves 4
A deliciously different pizza with a thick wholewheat crust, topped by sweetly caramelized roasted root veggies and cheese.  Fabulous!

For the crust:
280g of plain flour
70g of whole wheat flour
1 tsp salt
1 TBS rapid rise or bread machine yeast
225ml of hot water (1 cup)
2 TBS olive oil

For the toppings:
1 small butternut squash
1 medium parsnip
1 medium carrot
2 small red onions
fine sea salt and freshly ground black pepper
olive oil
120g of grated emmenthal cheese (1 cup)
120g grated strong cheddar cheese (1 cup)
65g of grated mozzarella cheese (1/2 cup)
45g of finely grated Parmesan cheese (1/4 cup)
1 1/2 TBS fresh thyme leaves

Preheat the oven to 220*C/425*F/ gas mark 7.  Have ready a large baking tray.

Peel the butternut squash.  Cut in half and remove the seeds.  Slice the bulbous end into wedges and cut the remainder into 1/2 inch cubes.  Peel the parsnip and cut into wedges.  Peel the carrot and cut into wedges.  Peel the onions and cut each one ito six wedges.  Place them onto the baking tray.  Toss with a bit of olive oil and season with some salt and pepper.   Roast in the oven until cooked through and beginning to caramelize, 20 to 25 minutes.

 photo SAM_1301_zpsfde61542.jpg

While you are roasting the vegetables make the crust.   Mix all of the dry ingredients together in a large mixing bowl  Add the hot water and olive oil.  Stir togerher well, then tip out onto a lightly floured surface and knead for five minutes.  Turn the bowl over top and allow to stand for 10 minutes.   At the end of that time, pop your pizza stone if you are using one into the oven.   

 photo SAM_1299_zps05f15966.jpg

I roll the dough out onto a piece of baking parchment to a large circle the circumfrance of my pizza stone.  Prick it all over with a fork.  (If you don't have a pizza stone you can use a preheated large baking sheet.)  Slip the piece of parchment wih the rolled out dough onto the heated pizza stone, baking tray.  Mix together all the cheeses.  Sprinkle half onto the crust.  Top with the roasted vegetables and cover with the remaining cheese.  Sprinkle with the thyme.   Bake in the heated oven until the crust is well risen, browned, crisp on the bottom and the cheese has melted nicely.   Cut into wedges to serve.

SPICED PUMPKIN FRITTERS with a Vanilla Caramel Sauce

  photo SAM_1208_zpsaec2d17f.jpg  


 I got really lucky this year.  Aldi (which is one of the cheaper grocery stores) had tinned pumpkin on special a month or so back.  I was so excited.  It can sometimes be a really difficult ingredient to find on the cheap over here in the UK.  Normally you pay over the odds for it, if you can find it.  (I have had success in Waitrose and Sainsbury's and of course there is Skyco as well.)  

 photo SAM_1209_zpsef1dac40.jpg

So anyways, they had it in Aldi for a really reasonable price and I loaded up on it!  I think I bought 24 tins, much to Todd's embarassment and chagrin!  But then, I am a North American and I love pumpkin!  I think I am converting him to the idea as well.  

 photo SAM_1212_zps4906dc48.jpg

Especially when I make him such deliciousness as these fabulous Pumpkin Fritters.  They are delightful little light spicy puffs of pumpkin!  And that sauce . . . oh baby.  It is fabulous!
Of course if you can't find the tinned pumpkin puree, you can make your own.  There is a great recipe for a roasted one here.  And of course there is another good version on the BBC food site.    

 photo SAM_1214_zpse865632d.jpg
 Simple to make, just stir all the ingredients together and drop them into hot fat, cooking them until they are puffed and golden brown.  Just make sure you fat isn't too hot as you don't want the outsides to cook too fast, or your insides will be raw, and you don't want that!  

 photo SAM_1217_zps7f10cc0b.jpg

The sauce is gorgeous.   Rich and caramel flavoured with just the hint of vanilla.  So delicious together.  And you can refrigerate any leftover sauce for on ice cream or pancakes even.   Scrummo!!  

 photo SAM_1218_zps79a2fdcf.jpg

Oh, and don't worry about the leftover pumpkin.  I am going to tell you something delicious to do with that tomorrow! 

  photo SAM_1210_zps7cc81e6e.jpg  

*Spiced Pumpkin Fritters with a Vanilla Caramel Sauce*
Makes about 20 fritters
Little puffs of pumpkin moreishness.  Need I say more?
For the fritters:
140g of plain flour (1 cup)
180g of pumpkin puree (1 cup)
2 tsp baking powder
2 TBS golden caster sugar
2 tsp mixed spice (see recipe in side bar)
1/4 tsp ground cardamom
1 large free range egg, beaten
65ml of milk (1/4 cup)
pinch of fine sea salt
hot sunflower oil for frying
icing sugar for dusting

For the Sauce:
150g of soft brown muscovado sugar (3/4 cup packed)
225ml of double cream (1 cup)
3 TBS butter
125ml of golden syrup (1/2 cup)
1 tsp vanilla paste
pinch sea salt

To make the fritters, whisk together the dry ingredients until thoroughly combined.  Whisk together the egg and milk.  Add to the dry ingredients and whisk together until you have a thick smooth batter.
 
Begin the sauce so that it can cook while you make the fritters.  Combine all of the ingredients in a medium saucepan.  Bring to the boil, whisking constantly, then reduce to low and cook for 15 minutes, stirring occasionally until the sauce is thick and glossy. 

Heat 1 inch of oil in a medium deep skillet until hot.  A cube of bread should brown in 30 seconds.  Using two teaspoons, scoop balls of the batter and carefully drop them into the hot fat.   Fry until they are golden brown all over, turning them as needed.  Remove with a slotted spoon to drain on paper kitchen toweling.  Keep warm.  Repeat until all the batter has been used.

To serve place the warm fritters on a plate and dust with icing sugar.  Pass the warm syrup for pouring over top.

//