แสดงบทความที่มีป้ายกำกับ for the kids แสดงบทความทั้งหมด

Peanut Butter and Jam Cookie Cups


My very British Husband is quite fond of telling me that eating peanut butter and jam together is completely insane.  That didn't stop him from scarfing down three of these as soon as I had them finished though!  (Me thinks he is a bit of a porkie pie teller and that he secretly LOVES the combination as much as I do!)


Could it be that I have finally indoctrinated him to my wild and wooly North American ways????  Could it be that his veins are beginning to run a tiny bit  with peanut butter and jam???  I like to think so at any rate!  This is a combination I love soooo much!  It's that sweet and salty thing!
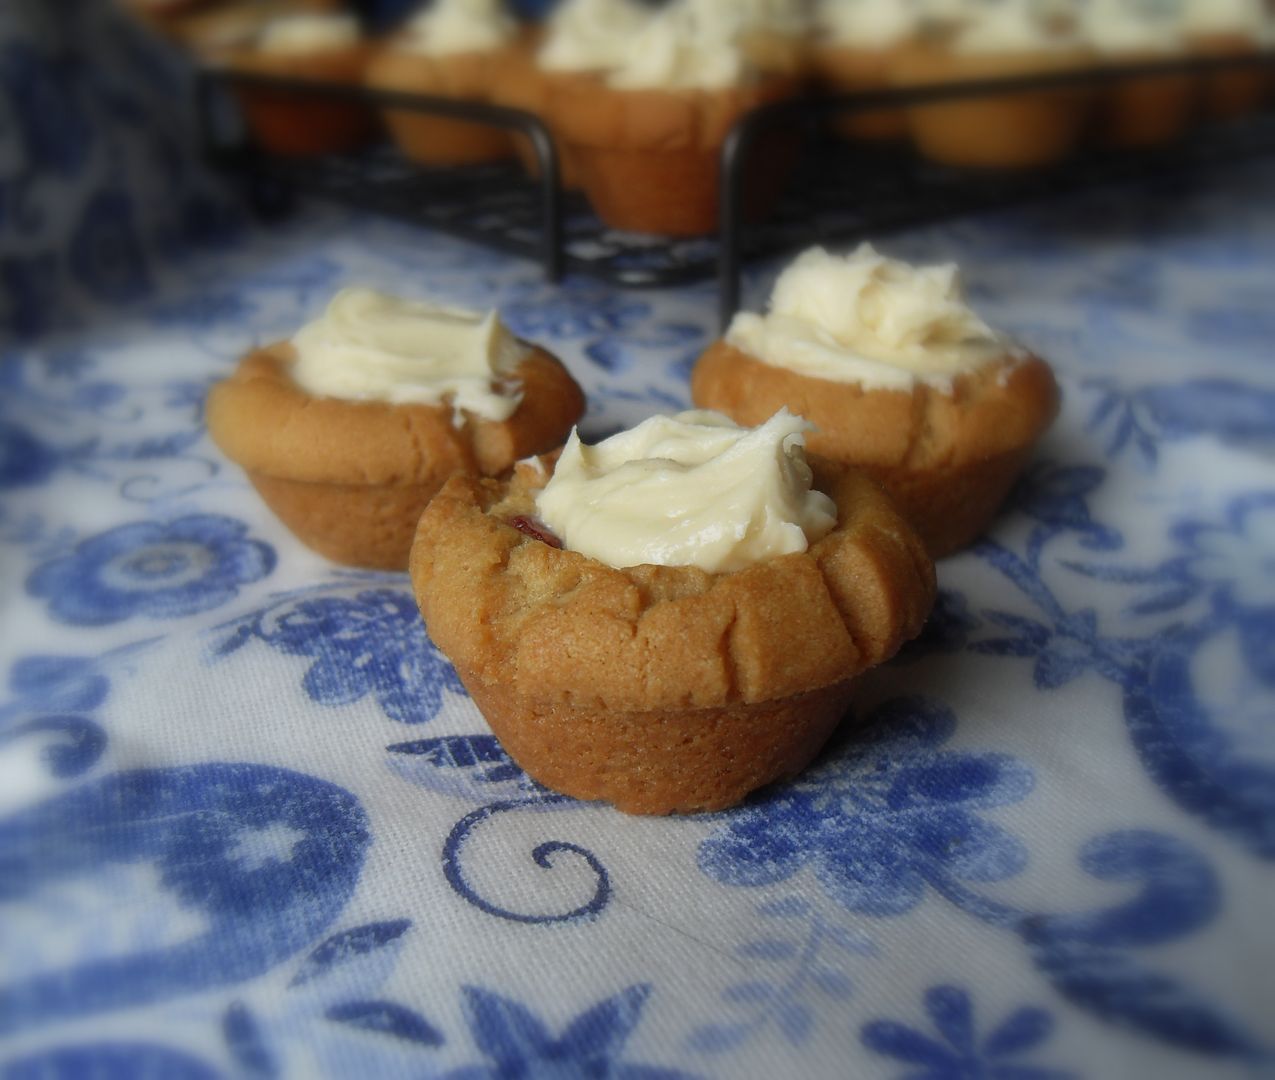
 

Today I decided to indulge it by making little peanut butter cookie cups.  I was going to make them snickers cups . . . but then I got sidelined by the Thames Jubilee Pageant and so I just filled them with jam before baking and then topped them with a quick buttercream icing.  I wanted to sit and watch all the fun!
(Oh my but it was fabulous!  I've never seen anything like it.  Everyone was turned out beautifully.  I thought Kate was just gorgeous, as always, and the Queen looked positively radiant!)


This is the type of thing I would positively make for Her Royal Majesty, did she ever chance to drop in for tea.  I would want to bake her something to with her cuppa that was ludicrously North American and what can be any more North American than Peanut Butter and Jam!!  (I don't think she'd enjoy porqupine . . . not really.)


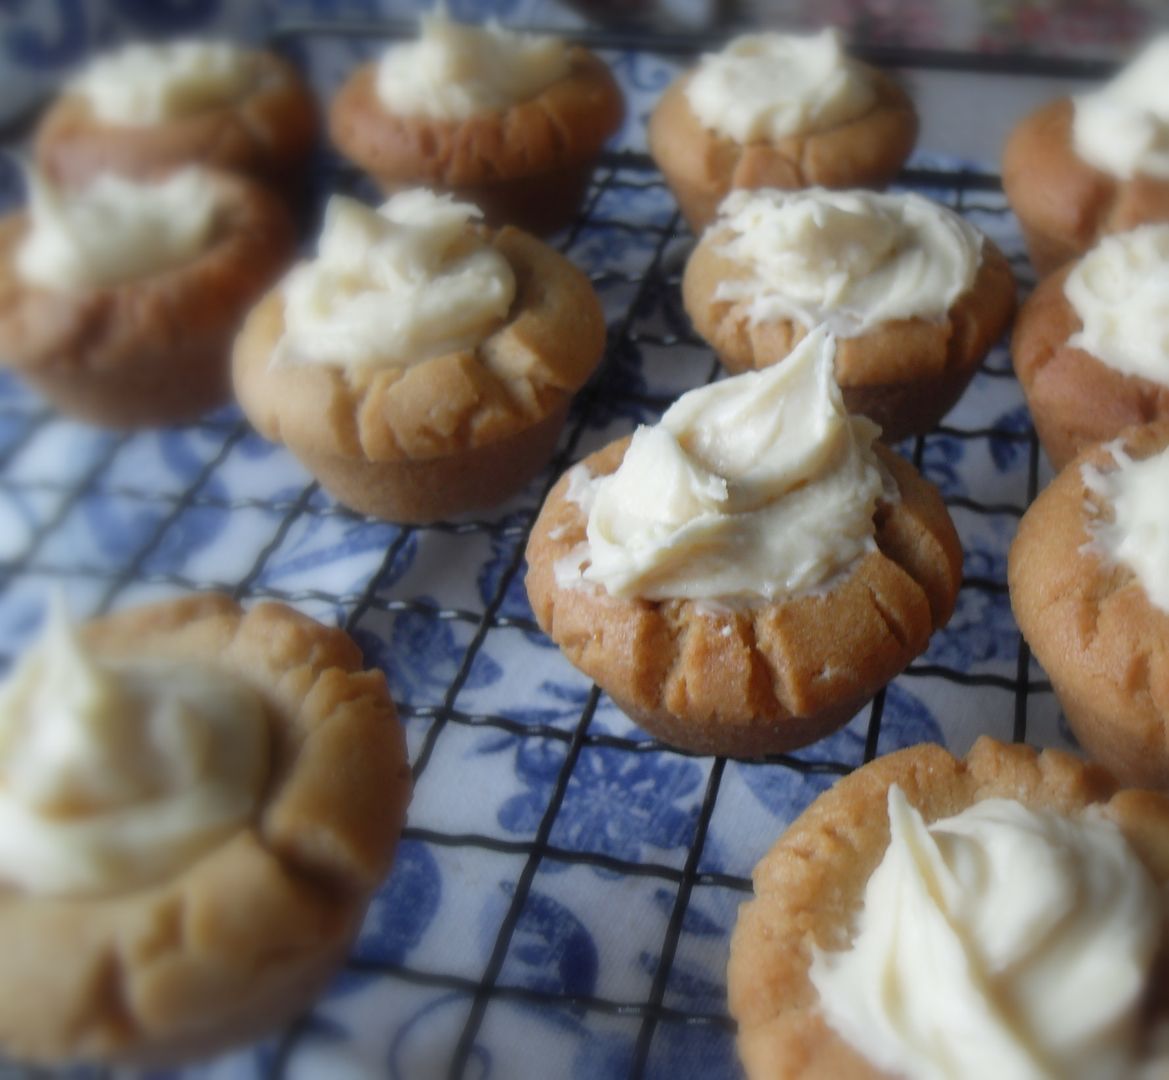
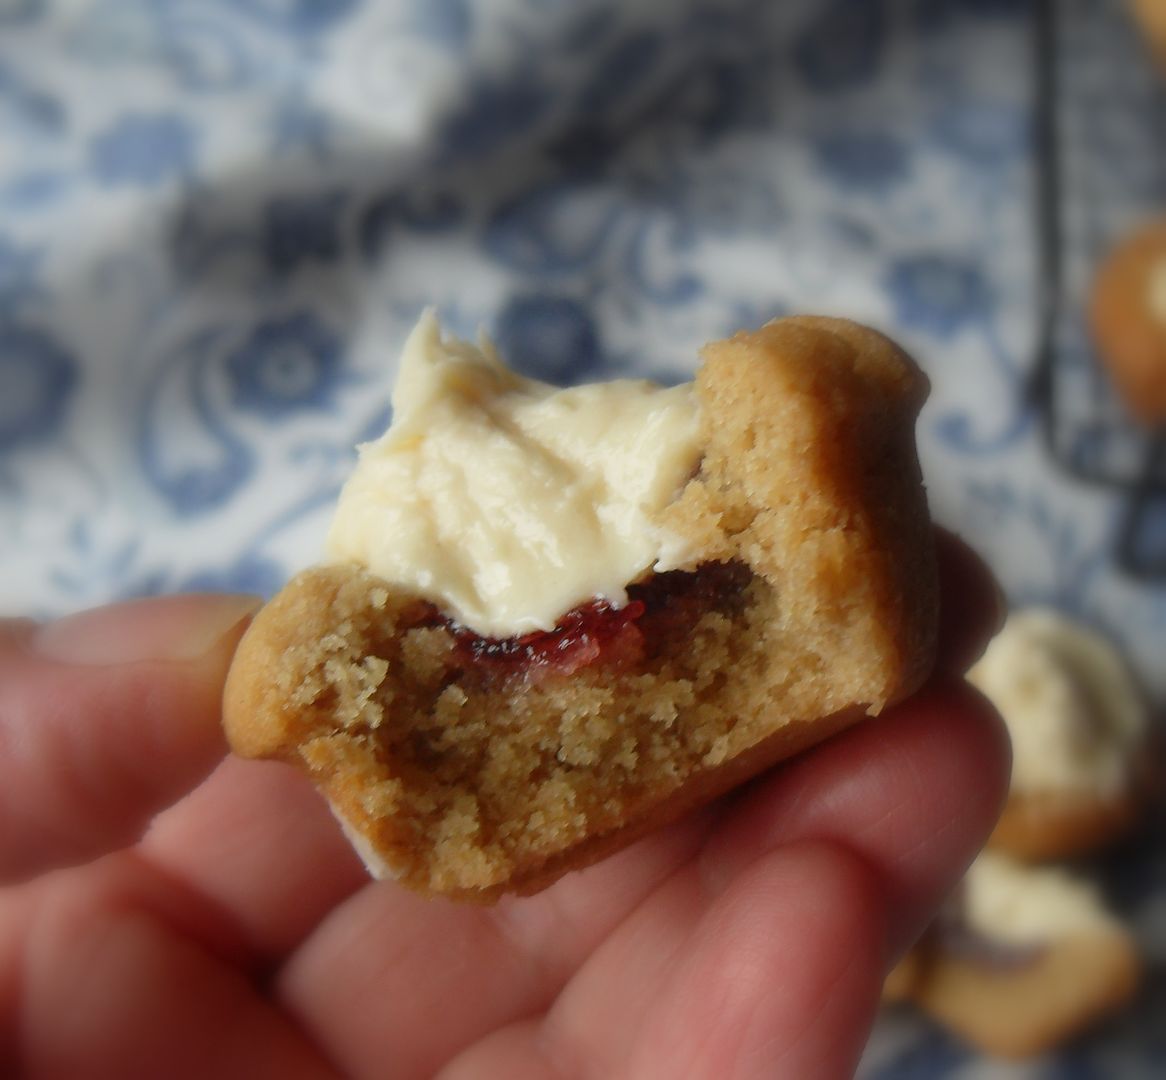
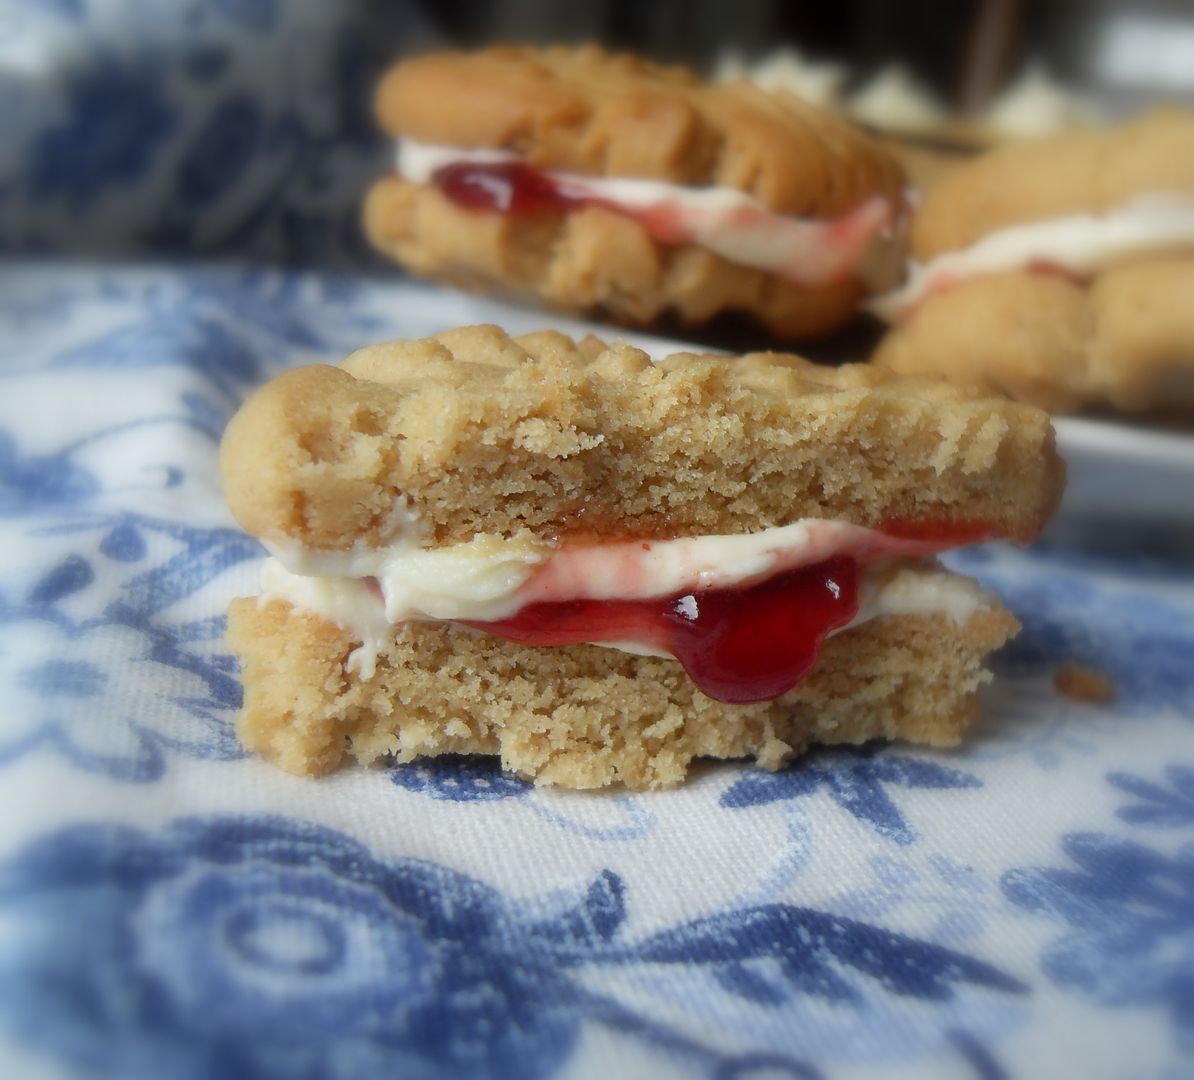
Crisp peanut butter cookie cups . . . baked with a sweet dab of jam in the middle . . . then topped with a peanut butter flavoured butter cream frosting.  Oh so scrummishly moreishly decadently good!!  Bet YOU couldn't eat just one either!
 

*Peanut Butter and Jam Cookie Cups*
Makes about 36
Printable Recipe

Tasty little peanut butter cookie cups, filled with jam and baked until crispy and then topped with a peanutbutter flavoured buttercream icing when cool.  M-O-R-E-I-S-H!!

For the cookie cups:
280g of flour (2 cups)
1/2 tsp bicarbonate of soda
1/4 tsp salt
172g of unsalted butter at room temperature (3/4 cup)
135g of creamy peanut butter (3/4 cup)
96g of caster sugar (1/2 cup)
100g of soft light brown sugar (1/2 cup packed)
1 large free range eggs
1 tsp vanilla
seedless raspberry jam

For the frosting:
6 TBS unsalted butter at room temperature
100g of icing sugar (3/4 cup) sifted
135g of creamy peanut butter (3/4 cup)
3 TBS heavy cream

Preheat the oven to 180*C/350*F/ gas mark 4.  Have ready several mini juffin tins.  Spray with some nonstick cooking spray.  Set aside.

Cream together the butter and peanut butter until thorougly combined.  Beat in the egg and vanilla.  Whisk together the flour, salt and bicarbonate of soda.  Stir this in to make a soft dough.  Shape the dough into 1 1/2 inch balls.  Place one in each muffin cup.  Press in with the bottom of a rolling pin, or a pastry damper to make a shell.  Fill the centres with about 1/2 tsp of jam.  Bake for 10 to 12 minutes.  They should be lightly golden brown around the edges.  Remove from the oven and allow to cool for about 5 minutes, then remove and set on a wire rack to finish cooling completely.

To make the frosting, combine all of the ingredients in a large bowl and beat with an electric whisk until light and fluffy.  Spoon or pipe a little dab of this frosting into the centre of each cookie cup to cover the jam.  Allow to set completely.

Alternately the cookie dough can be rolled into walnut sized balls and pressed flat with a fork on a lightly buttered baking tray.   You can then bake them for about 10 to 12 minutes.  Remove to a wire rack to cool completely.  Put together with a layer of jam and a layer of the peanut butter flavoured buttercream!

Store in an airtight container in the refrigerator.  If you can eat just one, you're a better woman than I am!!
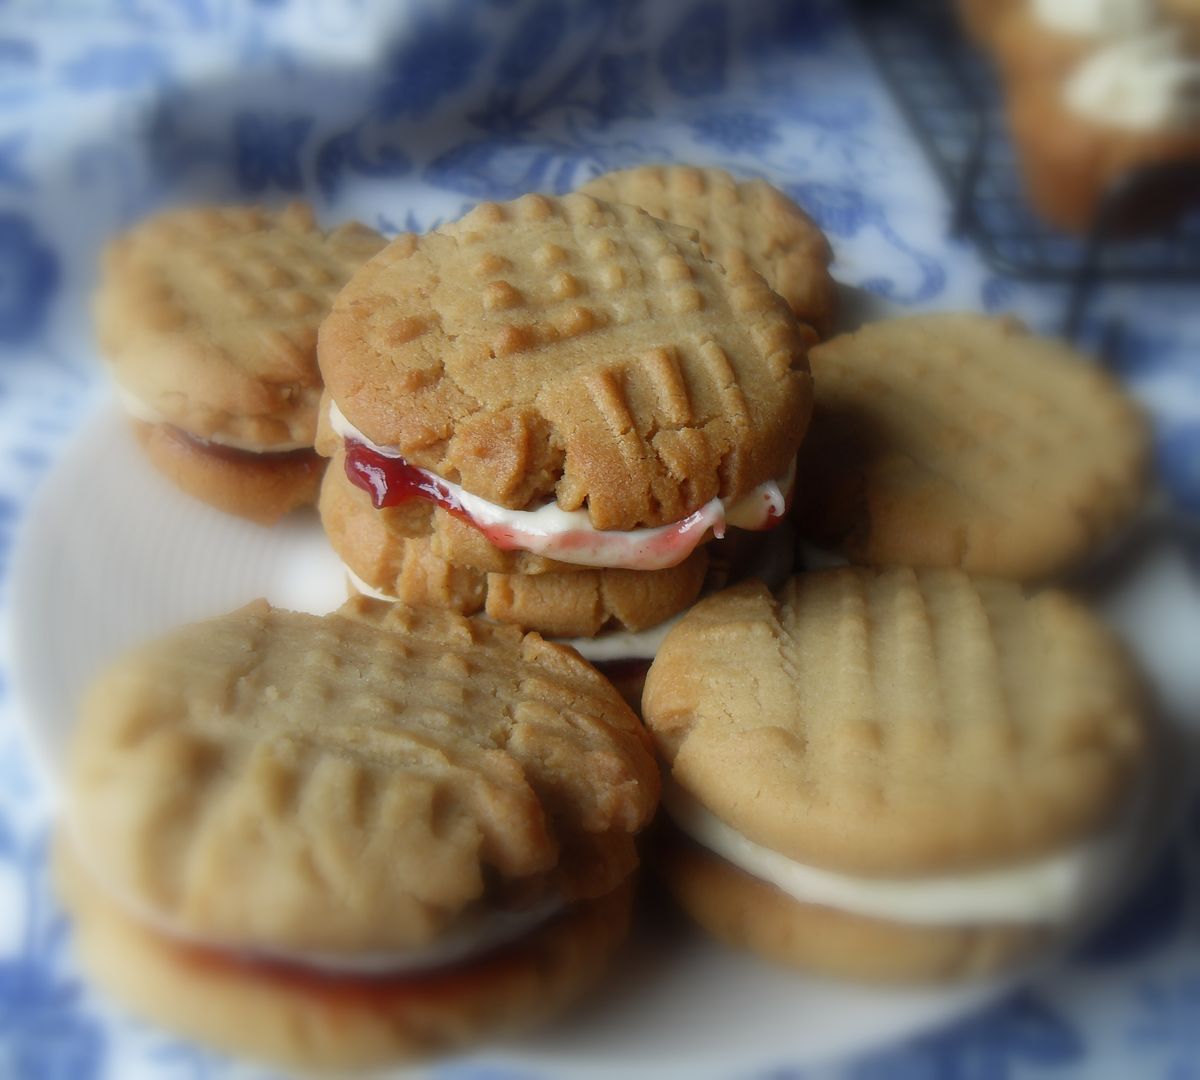
 

 In any case if you didn't want to go to the trouble of making these as cookie cups, you could just bake them as regular peanut butter cookies and then sandwich them together with some of the frosting and some jam!
 

Banana Crumb Cake


  photo SAM_1930_zps3d7943de.jpg

I hid a few bananas from the Toddster this week so I could bake with them.  I am not overly fond of fresh bananas, unless they are sliced on top of my rice crispies or sitting beneath a blanket of custard, or in a banana cream pie.  I love baking with them most of all. 

 photo SAM_1931_zps68c39177.jpg


If you were to offer me a bowl of fruit and there was only one apple in it and the rest were bananas . . . I'd take the apple every time.  Todd, on the other hand, loves bananas, and as soon as he sees them starten to really ripen he is in a mad rush to eat them all up before they go "bad."  I can't tell you the number of times I have wanted to bake something with banana in it only to see Todd sitting in his chair munching on the last banana! 


 photo SAM_1936_zpsbd0fcd2c.jpg


Hence my need to hide a few bananas . . . so I can bake.  Lovely goodies such as Banana, Cranberry and Walnut Loaf.  This is so good that my neighbor asks me to bake him one each Christmas.  Or my Fully Loaded Banana Chip Muffins.  Oh so scrummy.  Sour Cream Banana Loaf.  So moist and delicious.  My ex boss wanted me to bake it for him every week.  He loved it toasted and buttered for breakfast.  If you put the word Banana into the search block in my right hand column, you will find lots of banana delights.  Each one scrummier than the last!

 photo SAM_1935_zps6d8f734a.jpg

We love this Banana Crumb Cake.   It's moist and delicious and has a ribbon of scrummy crumb through the centre, which kind of turns caramel-like . . . and then a crunchy crumb topping that is moreishly buttery.  Altogether this is a real winner.

 photo SAM_1934_zps0b2e91ab.jpg

It only keeps a couple of days though . . . which if you had a large family wouldn't be a problem as this disappears like water . . . but . . . if there are only two of you, like there is in our house, you will want to cut it into single servings, wrap well and freeze, for up to two months or so.

 photo SAM_1933_zps259ca5fb.jpg

I don't see any problem in that.  It's nice to have some cake in the freezer for when the urge hits . . . especially when it's a delicious Banana Crumb Cake!  Enjoy!

 photo SAM_1932_zps7dfb3bb7.jpg

*Banana Crumb Cake*
Makes one 9 by 13 inch cake
Serves 12
Moist and delicious with a scrummy crumb running through the middle and garnishing the top.  In the centre it's just moreish, on top it's crunchy.   Gorgeous.

280g plain flour (2 cups)
3 tsp baking powder
1 tsp fine sea salt
3 medium ripe bananas
125g of unsalted butter, at room temperature (generous half cup, or 9 TBS)
280g of caster sugar (2 cups)
2 large free range eggs
1 tsp pure vanilla extract
225ml of whole milk (1 cup)

For the crumb filling and topping:
225g cold butter, cubed (scant cup)
400g soft light brown sugar (2 cups)
280g of plain flour (2 cups)
Icing sugar for dusting

For the glaze:
130g sifted icing sugar (scant cup)
few drops vanilla
1 - 2 TBS milk  

 photo SAM_1938_zps806ae569.jpg  


Preheat the oven to 180*C/350*F/ gas mark 4.  Butter a 9 by 13 inch pan and dust lightly with flour, tapping any excess out.  Set aside.

Make the crumb filling by stirring the flour and brown sugar together in a large bowl.  Rub lightly to get rid of any lumps.  Drop in the butter and cut it in with a pastry blender or a fork, until you have a coarse crumb mixture.  Set aside.

Sift the flour and baking powder together.  Set aside.

Mash the bananas until they are liquified in a large bowl.   Add the butter to combine and then beat in the eggs, sugar and vanilla until mixed well.  Add the flour and milk alternately, beginning and ending with flour.  Pour half of the batter into the prepared pan.  Top with 1/3 of the crumb mixture.  Cover with the remainder of the batter.  Sprinkle the remaining crumb mixture over top evenly.

Bake for 50 to 55 minutes (mine took an additional 15 minutes) until the centre is set and a toothpick inserted in the centre comes out clean.  Allow to cool for 10 minutes.  At the end of that time dust with icing sugar if desired.  Whisk together the glaze ingredients until smooth and then drizzle them decoratively over the top of the cake.

Cut into squares to serve.  This may be served warm or cold and will store in an airtight container for up to 2 days.  It also freezes well.

Glazed Oatmeal Cookies

  photo SAM_1828_zpsea72d2ce.jpg  

Cookie or Biscuit, no matter what you call them . . . these wholesome home baked tea time treats are a favourite with kids of all ages.  When my children were growing up I always made sure there was a nice homemade snack for them to come home to at the end of the school day and homebaked treats to put into their packed lunches.  

 photo SAM_1829_zps0613acf7.jpg

I know I was blessed to have had the luxury of being able to stay home during their growing up years and in all honesty I would never have had it any other way.  I know it meant we didn't have a whole lot of money for holidays and fancy cars, and stuff, but . . . I always kind of felt like I was giving my children the priceless gift of having a mother at home.    

 photo SAM_1832_zps026f90a3.jpg

 I can remember being frustrated at times as the things I baked seemed to evaporate as into thin air . . . but oh . . .  what I wouldn't give to have a house full of children again with all of the blessings, noise and activity that brings.    

 photo SAM_1835_zps21606f18.jpg

My hands are empty now, no hugs no kisses, no lap cuddles . . . unless you count the furry ones I get from Mitzie, which are pretty special too.  My grandchildren live so far away I have never been able to bake them cookies or cakes.   The Toddster enjoys the fruits of my labors quite happily though, especially when it comes in the shape of these cookies, which were real favourites in my children's lunch pails.   


  photo SAM_1838_zpsc0641795.jpg

Easy to make using simple ingredients, these are quite large cookies that goe down a real treat after school as well, with a nice cold glass of milk.  They will store well in a covered container for four or five days and also freeze well.  I hope you will give them a go!  

 photo SAM_1830_zps33e7d173.jpg

*Glazed Oatmeal Cookies*
Makes about 2 dozen

Cookied are actually called biscuits over here in the UK, but no matter what you call them, these little babies are delicious!  


For the cookies:
200g of old fashioned rolled oats (2 cups)
280g of plain flour (2 cups)
1 TBS of baking powder (YES that is 1 TBS)
1/2 tsp bicarbonate of soda
1/2 tsp salt
2 tsp ground cinnamon
1/2 tsp freshly grated nutmeg
1/2 tsp vanilla paste (or 1 tsp vanilla extract)
2 large free range eggs
220g of butter, softened (1 cup)
170g of soft light brown sugar (14 1/2 TBS)
100g golden caster sugar (1/2 cup)  


For the glaze:
280g icing sugar, sifted (2 cups)
3 TBS milk
1/2 tsp cinnamon extract (optional)

 photo SAM_1839_zpsc9212432.jpg

Preheat the oven to 18-*C/350*F/ gas mark 4.  Butter two large baking sheets and set aside. 


Cream together the butter and both sugars until light and creamy.  Beat in the eggs, one at a time until well combined, then beat in the vanilla.   

Pulse the oats in a food processor for about 10 seconds until coarse.  Dump into a bowl.  Sift in the flour, baking powder and soda.  Whisk in the salt, cinnamon and nutmeg.   Add this dry mixture to the creamed mixture in thirds until completely amalgamated.

 photo SAM_1840_zps10897597.jpg

Scoop out in  2 tablespoon amounts and roll into balls.  Place onto the baking sheets, leaving a good two inches in between each one.  Bake for 10 to 12 minutesm until the bottoms begin to turn brown.  Remove from the oven and allow to stand on the baking sheets for about 5 minutes before lifting off onto a wire rack to finish cooling completely. 

To make the glaze, whisk all of the ingredients together in a bowl using only enough milk to give you a thick smooth drizzable glaze.  Dip the tops of the cookies quickly into this glaze until coated, allowing any excess to drip off.   Return to the wire racks until the glaze sets.  Store in an airtight container.
//